Last modified on:
If you’re looking to make brioche, chances are, all the recipes you find contain granulated sugar. Not ideal if you’re a diabetic, have PCOS, or are trying to watch your diet; if that’s the case, you’ll be wanting a recipe for sugar-free brioche.
Well, you’re in luck. Two of the people we bake for are diabetic, yours truly is one of them, so we’re always trial and error-ing different recipes to make them sugar-free. We’ve got our coconut brownies, sugar-free flapjacks, and cinnamon and honey biscuits sorted, so now it’s time to try out brioche.
Shopping list (with prices)
- Easy Bake Yeast – £1.50, Tesco
- Milk – £1.65, Tesco (you don’t need four pints, but this is the best value bottle you can buy)
- Large eggs – £2, Tesco
- Strong white flour, 1.5kg – £1.30, Tesco
- Unsalted butter, 250g – £1.99, Tesco
Total: £8.44
Makes: One large loaf or one large tear & share or one tear & share and a small loaf
Ingredients
- 9g dry yeast
- 120ml warm milk
- 5 eggs plus one extra yolk
- 500g strong white flour
- 125g unsalted butter
To make this dairy-free, swap the milk for a plant-based milk. Use your plant milk, whether that be soya, almond, oat, or pea. Choose an unsweetened version to keep the sugar content of your brioche low. Swap the butter to a plant-based alternative, like Flora Plant Butter, which is actually £0.34 cheaper than the dairy version.
To sweeten the brioche, you can always drizzle in a refined-sugar alternative, like a spoon of honey or agave nectar. Not too much, mind, as if the dough is too wet, it won’t rise properly and you won’t get the light texture that brioche is known for. We’re planning to experiment and make a sugar-free version of the viral M&S Strawberries and Cream sandwich, so when we do, you can check that out for a sweetened sugar-free brioche.
You can also use plain flour instead of strong flour, so if you’ve got a bag of plain in the cupboard already, you can use that instead.
Sugar-free brioche steps
You’ll need:
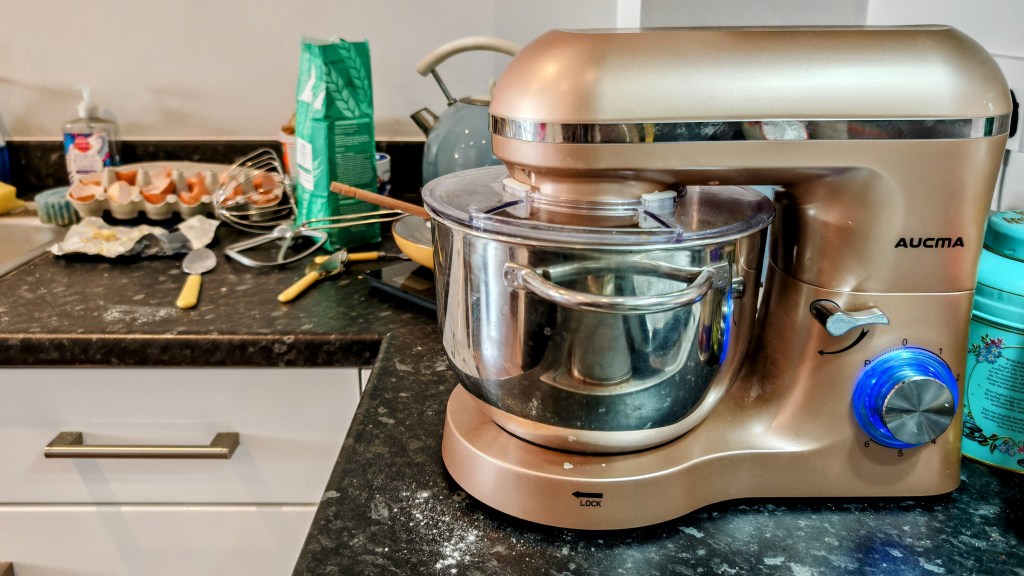
- Stand mixer (beater and dough hook attachments)
- Mixing bowl
- Jug
- Scales
- Fork, spoon, knife
- Microwave (or a saucepan… but the microwave is the quickest option)
- Sieve
- A day
- Two loaf tins or a round tin
Step 1
Warm the milk in the microwave, then add the yeast. Give it a quick stir then set aside and leave to dissolve. This will take around 15 minutes.
Step 2
Once dissolved, crack in five eggs and an extra yolk (save the leftover whites in a mug for later) into the jug with the yeast. Whisk together. Pour into the stand mixer bowl (with the beater attachment in place).
Step 3
Sieve half of the flour (250g) into the stand mixer bowl. Combine before adding the next 250g. Once all the flour is sieved in, set the stand mixer to 1 and stir it all together for five minutes.
Step 4
Cut the butter into four even-sized cubes. Up the mixer to 2 and add the butter cubes to the mixer one at a time in 2-3 minute increments, only adding the next one once the last has been mostly combined. Once the last cube has mostly been incorporated, lower the speed back to one and leave to stir for a further three minutes.
Step 5
Swap the beater attachment to the dough hook. Set your stand mixer to its ‘Knead’ speed, often number 2, and leave it for 15 minutes.
Step 6
Next, flour a work surface. Take your dough out of the mixer, and on the floured surface, fold the edges of the dough into the middle. Keep going until the dough forms a tight ball. Don’t knead the dough, though, as you don’t want to knock the air out of it. When you’ve got a nice, relatively smooth dough ball, flour the stand mixer bowl, then place the dough back in. Cover with a tea towel and leave to stand at room temperature for an hour.
Step 7
After an hour, move your bowl to the fridge. Leave to prove for at least eight hours.
Step 8
The dough should’ve over doubled in size. If not, uh-oh.
Split the dough in half on yet another floured surface. Separate each half into eight balls of similar size – then tighten each ball by folding in the edges like you did in step six.
Step 9
Line your baking tins with baking paper, or coat all the sides with butter (wipe it on with a bit of kitchen roll), to prevent the brioche from sticking. Pack eight balls into one tin, or however many balls you can fit in your tin. If you’re using a round tin, place the balls around the edge and one in the middle.
Step 10
Cover both tins with your tea towel again – leave somewhere warm-ish to prove, like near a sunny window or on top of a warm appliance. Warm-ish, remember? Not hot.
Step 11
With 10 minutes remaining on your final prove, preheat the oven to 160C. When the proof is finished, brush the tops with the egg whites you’d saved from step two. Place in the oven for 35-45 minutes. Be careful about opening the oven door too often, as the heat will escape and your brioche loaves will fall flat. Check on its progress through the oven door.
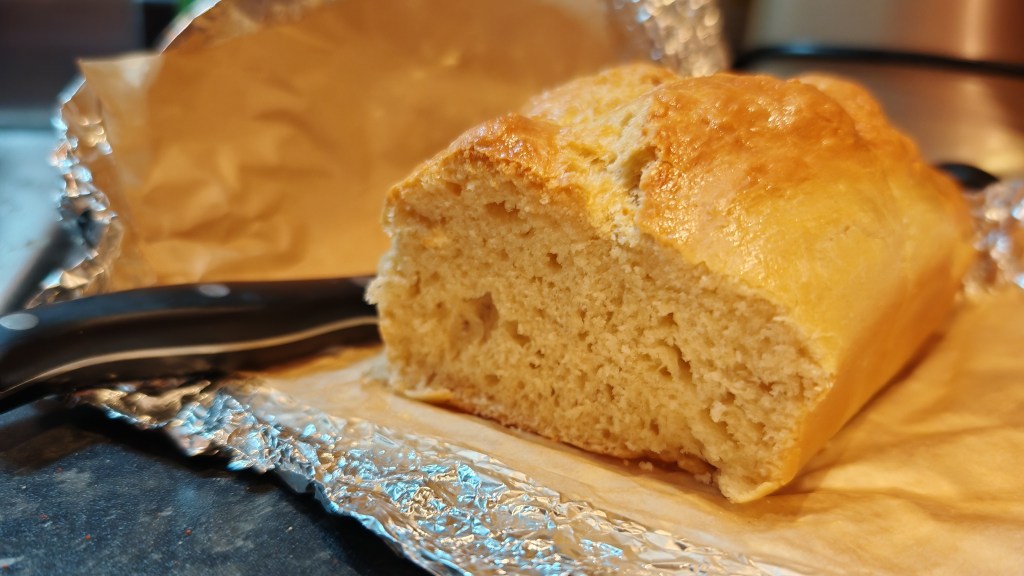
They’re done when the tops are golden and a crust has formed. The brioche loaves should have retained their height. Remove from the oven and leave to cool. Once cooled, take the loaves out of the tins, ready to slice and eat.